RUBBER MOULDING
The heart of our business; our equipment, skills and services centre around the vulcanisation of rubbers.

The heart of our business; our equipment, skills and services centre around the vulcanisation of rubbers.
We have built up a business that harnesses the skills, equipment, supply chain and passion to look at every customer’s work with a combination of experience and fresh perspective.
Our on-site facilities – aside from the materials development, FEA, product development and testing and CAD service, all detailed in this part of the website – include:
Each of these are explained in a little more detail below. However, there is nothing quite like seeing the processes in action; if you would like to visit us to talk about your requirement in specific detail we would be happy to show you our rubber moulding facilities.
A finished compound is mixed from a base polymer such as silicone, Viton®, Neoprene® or nitrile, which in turn is mixed from a batch of raw ingredients in appropriate ratios to create the required properties of the finished material. A tool is manufactured, usually in steel (though aluminium is often used for prototyping), which will create the geometry of the finished part once filled with rubber compound and vulcanised. The tool is placed in a moulding press and, along with the raw compound, is placed under heat and pressure until the material is ‘vulcanised’, a process which changes the chemical bonds and creates the kind of rubber that you are familiar with.
In short, rubber moulding is a process by which rubber components, commercial rubber products and specialist custom rubber products are created; the same basic process for all, but the selected compound, bonding technique, tool design and product development will affect the final result in application.
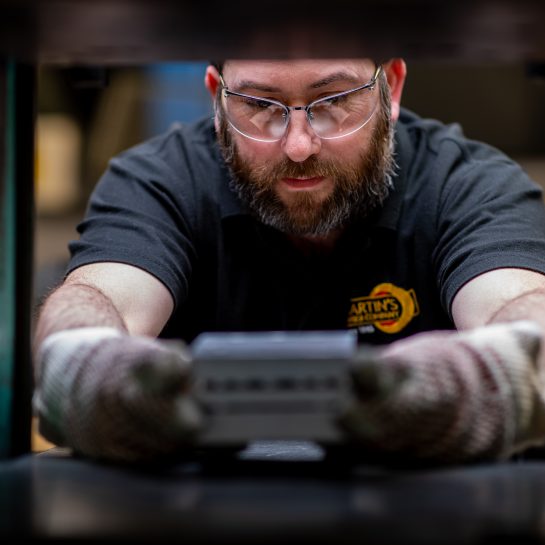
The rubber moulding process continues by loading the shape and closing the mould, which is heated by the press platens. The excess rubber is then vented from the cavity along with any air under the compression force of the press, then held closed by the press whilst the rubber is cured, and then when the press is opened, the tool can be split and the part de-moulded. Compression moulding was the original method for moulding rubber, developed back in the 1850’s, and is still ideal for manufacturing low to medium volumes of rubber product and remains a useful moulding process for forming bulky parts.
Advantages of compression moulding
Disadvantages of compression moulding
Examples
Using a secondary raw material prepared into “pre-forms”, these are loaded into a pot internal to the mould tool. When the mould is closed, an integral plunger compresses the rubber in the pot and forces it through holes or sprues into the product cavity to fill it in the same way as an injection moulding would. This is an ideal process for forming parts that require exact positioning of inserts to be bonded, intricate parts with lower volume requirements and mould designs that contain multiple cavities or which would be likely to trap air. The rubber mouldings created are much less likely to exhibit knit lines or other defects, providing much more consistent production.
Advantages of transfer moulding
Disadvantages of transfer moulding
Examples
Injection moulding was created as an extension of the plastics industry in the early 1960s. After overcoming initial issues of temperature (plastic is cooled during moulding whereas rubber is heated) and pressure (rubber injection moulding requires significantly more pressure per square inch of cavity surface), the process has become the most efficient way to mould rubber in many cases. It is an ideal rubber moulding process for large shot weights, high volumes of small to medium size parts, incorporating bonded inserts, achieving close dimensional tolerances, and making components that require uniformity or consistency of colour.
Advantages of injection moulding
Disadvantages of injection moulding
Examples
However, the inserts or substrates need to be chemically prepared in order to ensure that the elastomer creates a chemical, as well as mechanical, bond to the substrate. We have the facilities and chemicals to undertake this work.
The process of vulcanising rubber to a metal or composite insert begins with the preparation of the insert for production. This involves grit blasting to increase surface roughness and contact area, then using a degreasing system to remove any contaminants from the parts. Next a heat activated adhesive bonding agent is painted or sprayed onto the inserts, with areas masked off where rubber is not required on the final product. The rubber moulding process then proceeds as usual, whether by compression, transfer or injection method. In most cases, bonding rubber to metal is beneficial for components that require the flexible properties of rubber, combined with the rigidity of a metal insert or fixing, or the special property of a plastic or composite material chosen to produce a specific performance of the final product.
For metal or plastic inserts being encapsulated into the rubber or on its surface, “chaplet” or “standoff” pins are sometimes necessary in the mould to control the position of the insert within the cavity, and allow the rubber to flow freely around it.
The adhesive bonding agent on the insert is activated by the moulding temperature once the mould is closed and the moulding process begins, resulting in a chemical bond to the curing rubber as part of the rubber to metal moulding process. This kind of bond is the strongest and most durable method of joining rubber to other materials to create composite products, which deliver the required properties of the overall component design.
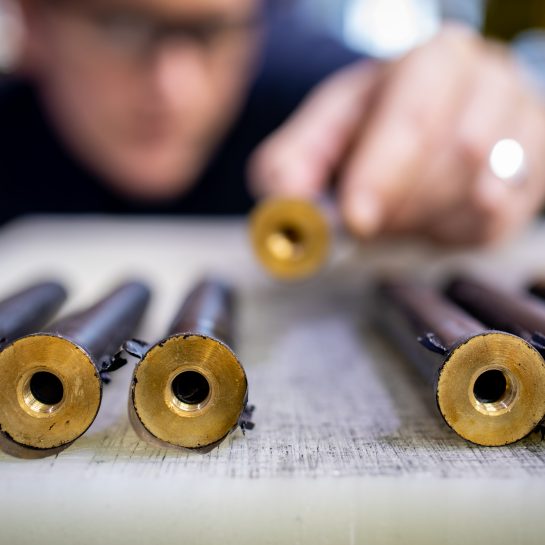
All rubber mouldings have an element of ‘flash’ following the moulding process; in order to ensure that the material has filled every element of the mould, it is always slightly overfilled and excess rubber forced out through specially designed channels. Depending on the design of the tool, the type of moulding process used and the material, this may be very minimal or it might be more substantial. Some rubber mouldings can be de-flashed at the press by the moulder – particularly if the tool is designed to enable very clean flash lines and also if the aesthetics of the part are more commercial and not critical to the function of the product; of course this method minimises cost.
Some mouldings are suitable for cryogenic deflashing. This means that the mouldings are placed into a drum with liquid nitrogen and polycarbonate media, and tumbled with media blasted in at high speed to remove excess flash embrittled by the low temperature. This is a particularly good finishing method for products with thin and complex flash that may be too time consuming for alternative methods. The parts themselves are not affected by the process, and regain full flexibility once back at ambient temperature.
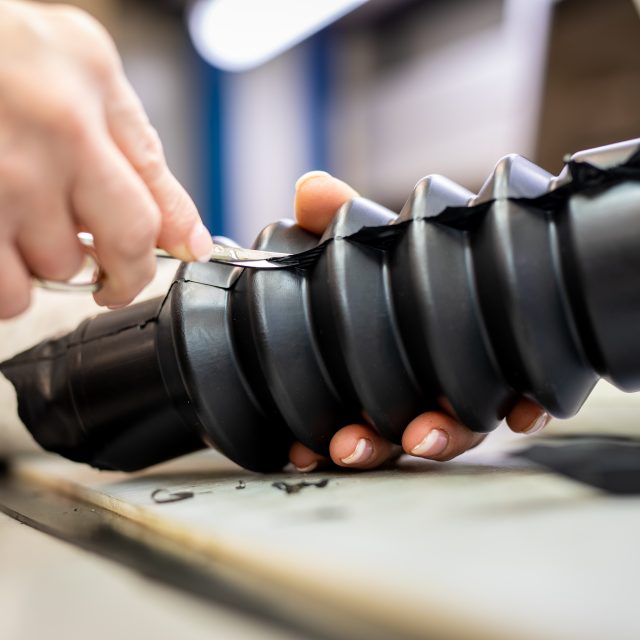
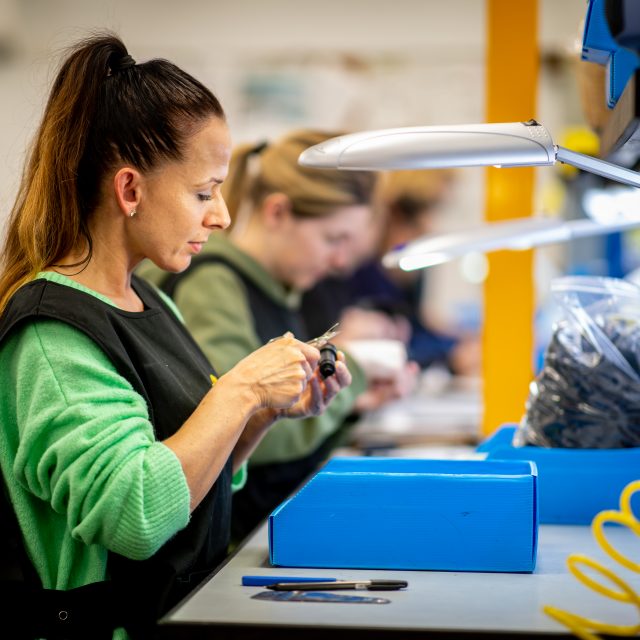
This is the traditional method that is still employed today for products where it’s the most suitable and effective solution. Individuals use a range of tools – scissors, knives, special cutters and also lathes – to create a hand-finished, precisely crafted product.

Know exactly what you want? Upload your drawings so we can provide a tailored solution
Get in touch with us today by email [email protected]